DAT302 – The Wall

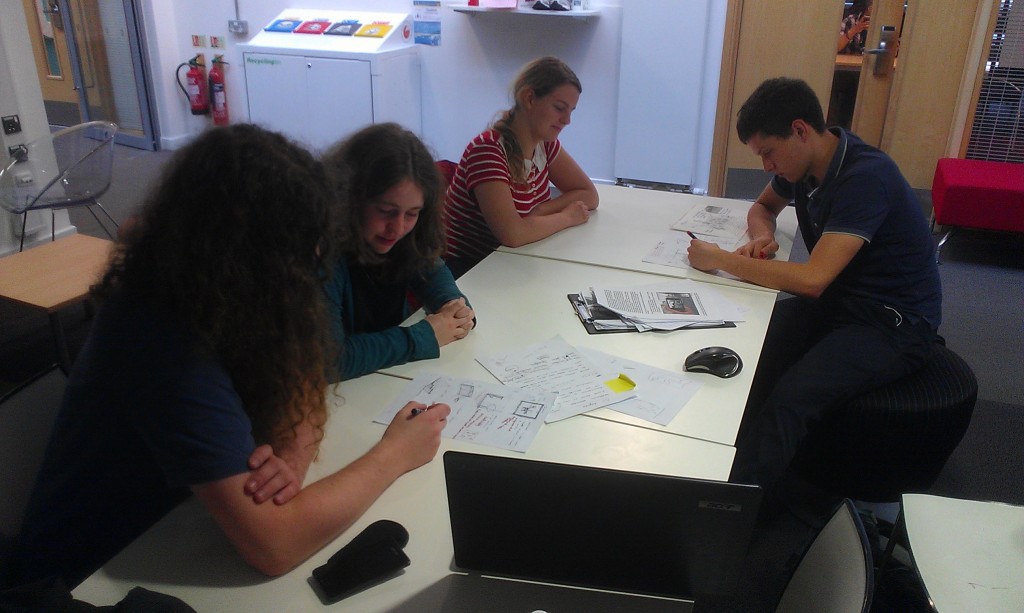
This was our first project collaborating with architecture students at the university.

The group was made up of:

Alex Glover
Craig Norman
Lizzie Seymour
Oliver Pullan
Rheanna Woodman
Panayiota Christodoulou
Simon Batty
Myself

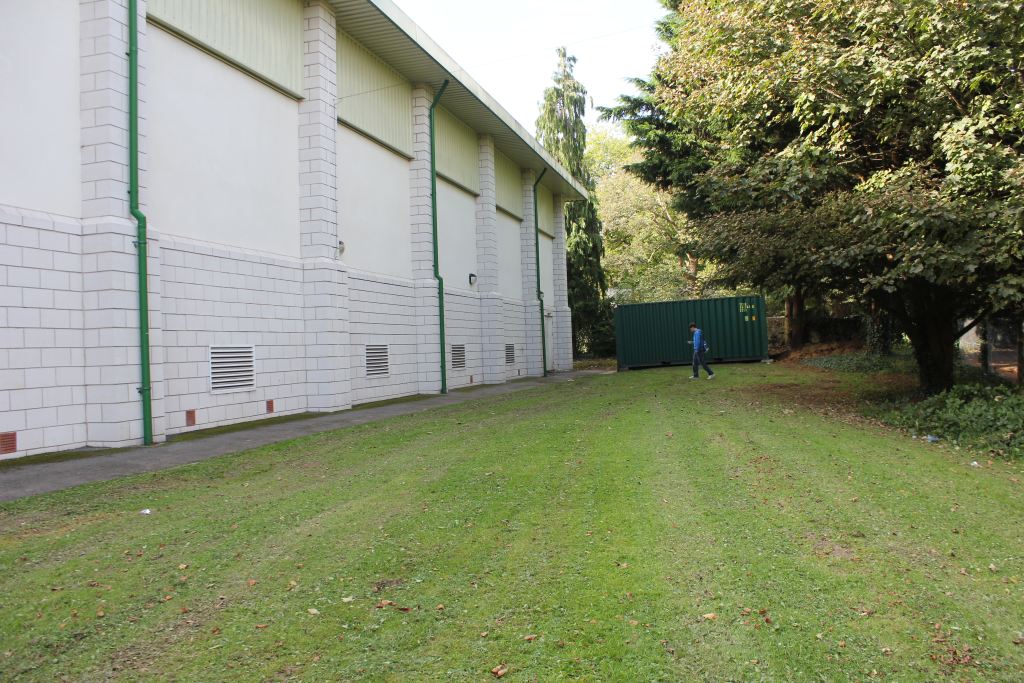
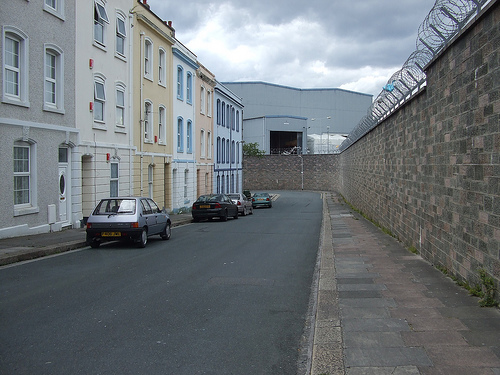
The project involved the large wall in Devonport that is currently being demolished which separated a residential area with the dockyard. Since the the area is no longer dockyard and is being redeveloped as a residential area the wall is being taken down.

We were group 3A and were tasked with coming up with a structure/installation that was inspired by the wall in some way and incorporated material from the wall. The structure/installation would be built in Devonport High School for Boys and serve as a outdoor learning environment.

We worked on a number of ideas but we favored the idea of building a row of climbing walls making use of RFID readers and tags to track progress and achievement. RFID readers would be behind some of the hand holds and the users would have an RFID tagged wrist band. The climbing walls could slide out at the bottom and down at the top using rails allowing for the incline and therefore difficulty to be adjusted. It could be set to angles between fully vertical to fully horizontal on the ground. The climbing walls would be placed on the side of the gym.

DAT301 – Timer

Here is the simple Timer class that I mentioned in the previous post.

// Timer
// author Jo Redwood jred.co.uk

class Timer{
  int period; // milliseconds
  int time;
  int lastTime = 1;
  int timer;
  boolean active = false;
  boolean running = true;

  Timer(int newPeriod){
    period = newPeriod;
  }

  void update(){
    if(running){
      time = millis();
      if(time - lastTime >= period){
        lastTime = time;
        active = true;
        timer = 0;
      }else{
        active = false;
      }
    }
  }

  void setPeriod(int newPeriod){
    period = newPeriod;
  }

  // Resumes the timer
  void start(){
    running = true;
  }

  // Pauses the timer
  void stop(){
    running = false;
  }

  boolean active(){
    return active;
  }
}

Usage:

Timer timer;
void setup(){
  timer = new Timer(500);
}
void draw(){
  timer.update();
  if(timer.active()){
    // Do stuff
  }
}

DAT301 – QuakeCam

For this project we were given the brief to use an RSS feed to manipulate a piece of video and/or audio media.

The group once again comprised of Simon BattyRachael Dalton and myself.

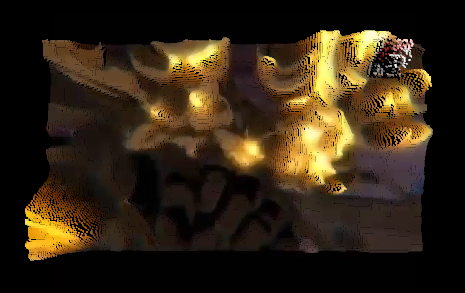
We experimented with a number of effects for manipulating images, we really liked the idea of giving video a 3D based on the brightness of each pixel, bringing them close the brighter they are. We decided to use a webcam as the source of video, our reason for this is that we wanted it to be interactive.

The distorted effect led us to choose our source of data which was earthquake data for the last 24 hours with a magnitude of over 1.

My main focus during this project was to work on a robust and reusable ‘RSS Player’ that could play through a RSS feed and continuously update in the background without freezing the sketch which was of particular importance as it was displaying video. To do this I used threading to create a separate thread in which data could be fetched from the internet.

I created a RSSFetch class that extended SimpleThread which in turn extends the Thread class. This object could then be created with the url and time interval to update in the constructor. The object would then in it’s separate thread continuously fetch the data for the feed. When new data becomes available it sets its available property to true, the RSS class detects this and retrieves the new data from RSSFetch’s xml property and uses its setUsed() method to mark the data as old.

The RSS class then uses a timer to cycle through the data provided by RSSFetch setting its ‘current’ property which is an XML object. I made a timer class that allows you to avoid using delay() and freezing the entire sketch. The RSS class has methods that use the Timer’s methods to pause, play and alter the speed.

DAT301 – Fickleduino Conceptual

Our concept was that of a complaining device that could never be happy; that through a simple text display could provoke humans into vain attempts to please it and eventually become annoyed by it.

Everything the Fickleduino is aware of, it will complain about. If a user is too close they are invading it’s personal space, if they are too far it complains of loneliness. There is no happy middle ground, if the value is above or below or equal to a set point it will complain.

It would be possible for many senses could be added (Hot – Cold, Light – Dark, Wet – Dry, Fast – Slow, Near- Far, Loud – Quiet).

The purpose of Fickleduino is to see how people interact with inanimate objects that display awareness and personality via text.

DAT301 – Fickleduino Technical

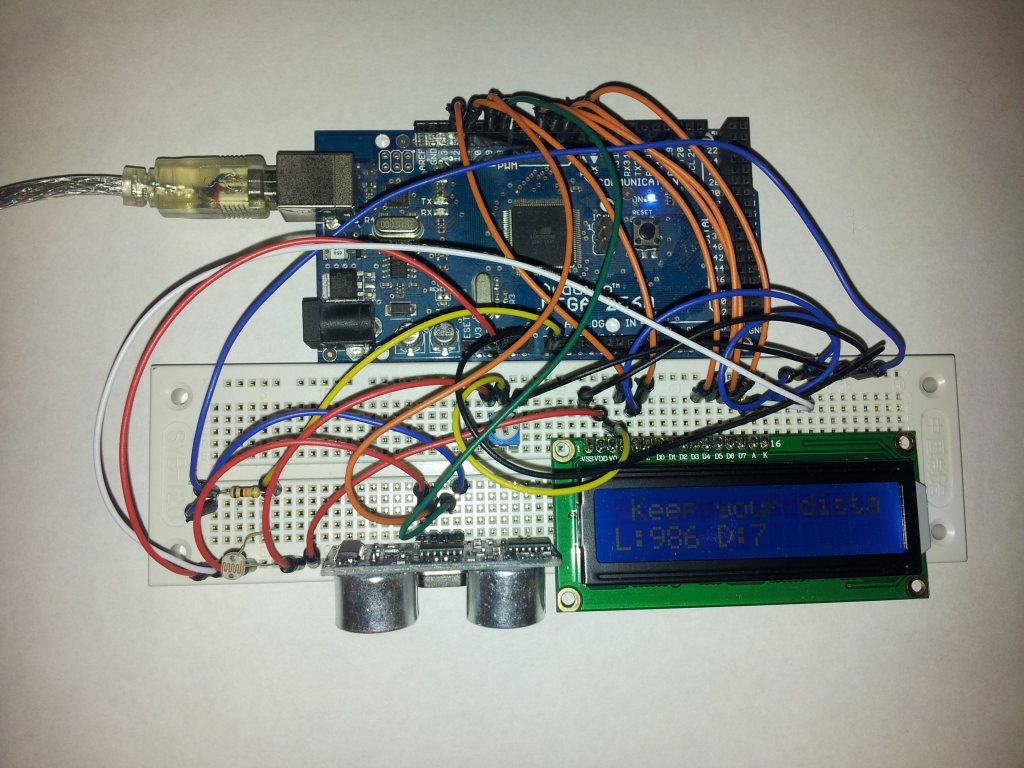
For Fickleduino we had to stretch our technical ability with the arduino. It was the first time any of us had used a LED display or ultrasonic rangefinder with one. I bought the display as part of a kit along with a number of sensors including the rangefinder, light dependent resistors(LDRs) and various other parts.

We found a simple wiring diagram for wiring the LCD in 4bit mode, in this mode it can only display ASCII characters but this was fine for our purposes. Wiring in 8bit mode would involve additional wires.
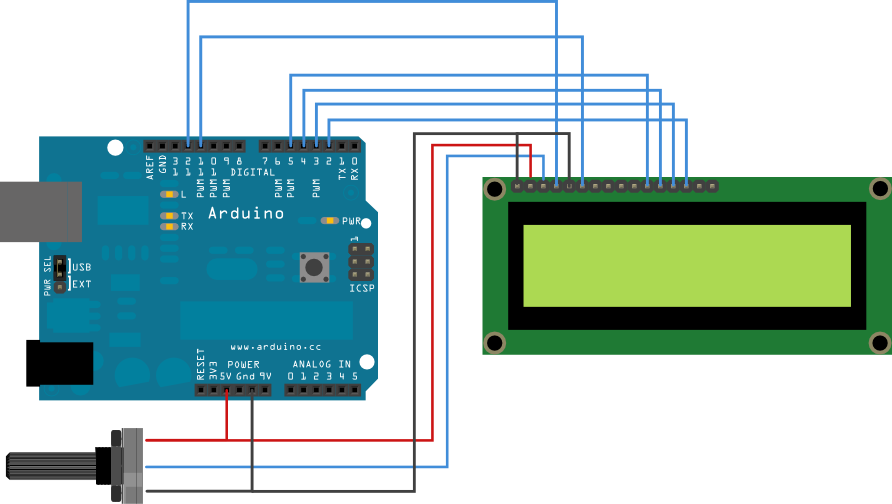
The diagram doesn’t show it but you also have to provide power to A – pin15 (positive) and K – pin16 (negative) on the display for the back light.

The Arduino website has these resources:
http://www.arduino.cc/en/Tutorial/LCDLibrary
http://arduino.cc/en/Reference/LiquidCrystal

In a simple Arduino program you may want something to happen at a regular interval like toggling a LED:

void loop() {
  digitalWrite(13, HIGH);
  delay(1000); // wait for a second
  digitalWrite(13, LOW);
  delay(1000); // wait for a second
}

As a single threaded device the Arduino completely freezes during these delays so if you wanted to have multiple things run at different intervals for example every 300ms and every 500ms, using delay is not practical.

unsigned long updateLastMillis = 0;
unsigned long scrollLastMillis = 0;

boolean cycleCheck(unsigned long *lastMillis, unsigned int cycle)
{
  unsigned long currentMillis = millis();
  if(currentMillis - *lastMillis >= cycle){
    *lastMillis = currentMillis;
    return true;
  }else{
    return false;
  }
}
void loop(){
  if(cycleCheck(&scrollLastMillis, 300)){
    // Do stuff
  }
  if(cycleCheck(&updateLastMillis, 500)){
    // Do stuff
  }
}

The cycleCheck function was written by dmesser and posted on the Arduino forum. This useful function allows you to create multiple timers and avoid using delay.

Combining the two of these together allowed us to marquee the text on the 16×2 LCD display with independent timings from the sensors collecting information.

Every 300ms the Arduino incremented a counter which served as the offset for a 16 character long substring of the output message.  The output message contained three dash separated copies of the actual message to be displayed so that when it reached the end of the message it would loop back around continuously.

Each sensor has it’s own class that encapsulated code specific to it and made it modular; each have a getValue() and complain() method which sets the currently displayed message to one of it’s pre-written complains based on whether it’s higher or lower than the middle value. The Light class made use of an adaptive middle value as different lighting environments give very different values despite appearing to be the same with human eyes.
DAT301 – Fickleduino

We were given a broad brief to play around with some Arduino boards and come up with an idea that made use of them to be presented 2 weeks later. Our group comprised of Simon Batty, Rachael Dalton and myself.

We took the first week coming up with various ideas for the project and ordered several components we could use with the Arduino Mega 2560 I had used for Weather Transplant. Playing with the components allowed us to think about how a user could interact with them and how they could be applied to demonstrate an interesting and fun concept.

We went through a number of different ideas including a runaway computer mouse, a camera trapped fridge and a censoring twitter viewer before settling on our final idea.

The final concept we arrived at was to create a machine that observed its surroundings and complained about them on a LCD display. The device would complain on both sides of a threshold value with no possible state of contentment.

Our demonstration featured two sensors, a Light Dependent Resistor (LDR) and an ultrasonic range finder. If a person or object was to get too close it would complain about its personal space being violated but if nothing was detected in its range it would complain of loneliness. Based on readings from the LDR the machine would complain about the light being too bright or too dim.

The code is designed in such a way that each sensor and its associated complaints are modular so that different sensors can be easily added.

DAT302 – Everyware

The ‘Everyware’ module looks at the trend towards creating an internet of things, how through the embedding of computers, sensors and electronics in materials and objects systems can be created between them. The name Everyware combines ‘ware’ as in hardware or software and the word everywhere.

The term ‘Internet of Things’ was coined by Kevin Ashton who co-founded the Auto-ID Center at MIT which created a global standard RFID system.