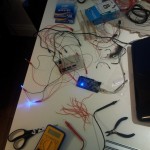
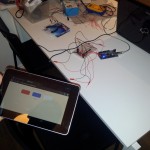
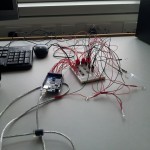
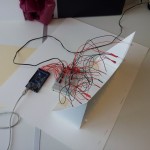
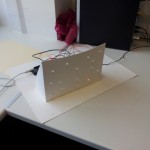
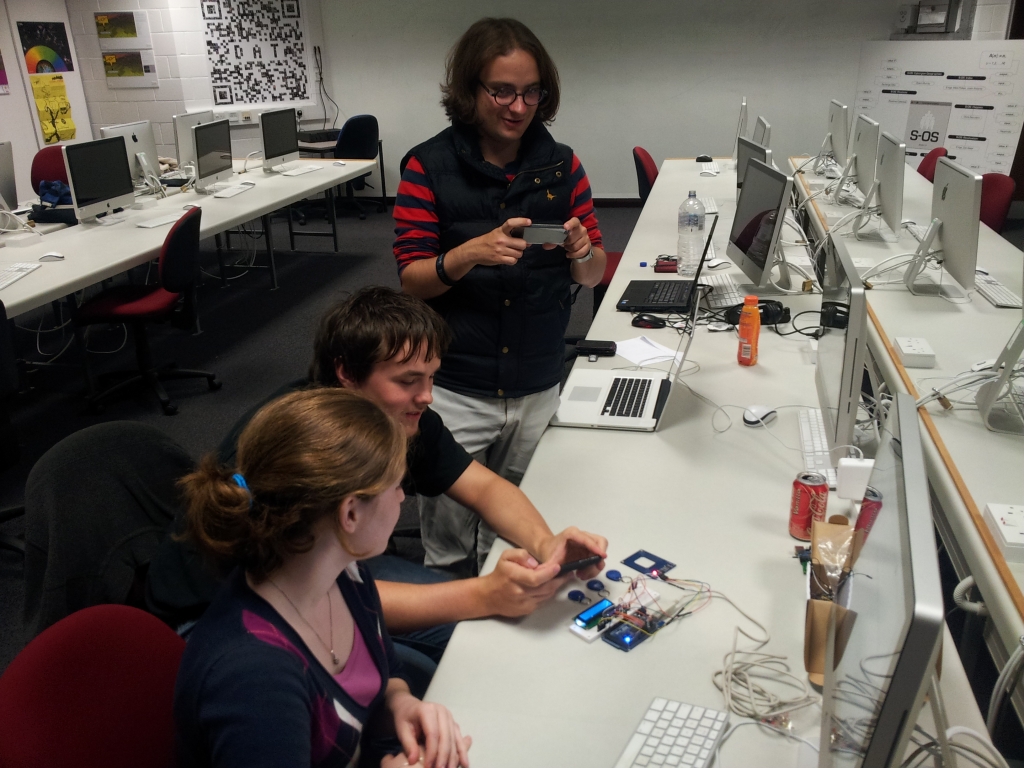
The prototype uses of 3 sets of 5 LEDs, each LED is soldered to two 30cm long wires which are soldered into a positive and negative header for the sets. This means that the LED sets can be easily plugged into a bread board or directly into an Arduino. The soldering was fairly time consuming but it allowed for quick assembly.
We realised that the Arduino would not be able to provide enough power for the LEDs on it’s own so we decided to make use of the ULN2003 chips I used in Weather Transplant, the 470 Ohm resistors supplied with the LEDs and an adjustable transformer to get the correct voltage.
To control the wall we needed to create a touch interface, the easiest way to do this and to make it multi-platform was to create a web application. The web application updated a MySQL database via PHP and displayed the data on a different page. This page is then read by a processing sketch (VoteBridge) that sends the data via the serial port to the Arduino.
And as usual, here is the code:
Processing
import processing.serial.*;

Serial myPort;
String votes;
Timer timer = new Timer(500);

void setup()
{
  size(200, 200);
  String portName = Serial.list()[0];
  myPort = new Serial(this, portName, 9600);
}

void fetchData(){
  String[] data = loadStrings("http://pluxel.co.uk/thevision/feed.php");
  votes = data[0];
}

void draw() {
  timer.update();
  if(timer.active()){
    fetchData();
    myPort.write(votes);
    println("Sent: "+votes);
  }

}
Arduino
int redPins[] = {22, 24, 26, 28, 30};
int bluePins[] = {32, 34, 36, 38, 40};
int whitePins[] = {42, 44, 46, 48, 50};

int redVotes = 0;
int blueVotes = 0;
int whiteVotes = 0;

unsigned long scrollLastMillis = 0;

boolean cycleCheck(unsigned long *lastMillis, unsigned int cycle)
{
  unsigned long currentMillis = millis();
  if(currentMillis - *lastMillis >= cycle){
    *lastMillis = currentMillis;
    return true;
  }else{
    return false;
  }
}

String txtMsg = "";
char s;

void setup() {
  Serial.begin(9600);
  Serial.flush();
  // initialize the digital pin as an output.
  pinModes(redPins);
  pinModes(bluePins);
  pinModes(whitePins);
}

void pinModes(int pins[]){
  for(int i = 0; i < 5; i++){
    pinMode(pins[i], OUTPUT);
  }
}

void reset(int pins[]){
  for(int i = 0; i < 5; i++){
    digitalWrite(pins[i], LOW);
  }
}

void loop() {
  if(cycleCheck(&scrollLastMillis, 1000)){
       while (Serial.available() > 0) {
        s=(char)Serial.read();
        if(s == 'n' || s == 'r') {
            txtMsg = "";
        }else{
            txtMsg +=s;
        }
    }
    if(txtMsg != "") updateVotes(txtMsg);
    txtMsg = "";
  }

  if(redVotes > 5 || blueVotes > 5 || whiteVotes > 5 ){
    boolean victory = false;
    // Voting has finished
    if(redVotes > 5){
      cycle(redPins, 100);
      victory = true;
    }
    if(blueVotes > 5){
      cycle(bluePins, 100);
      victory = true;
    }
    if(whiteVotes > 5){
      cycle(whitePins, 100);
      victory = true;
    }
  }else{
    displayVotes(redPins, redVotes);
    displayVotes(bluePins, blueVotes);
    displayVotes(whitePins, whiteVotes);
  }
}

void updateVotes(String txt){
  Serial.println("Reading: "+txt);
  redVotes = txt.substring(0,3).toInt();
  blueVotes = txt.substring(4,7).toInt();
  whiteVotes = txt.substring(8,11).toInt();
  reset(redPins);
  reset(bluePins);
  reset(whitePins);
}

void displayVotes(int pins[], int votes){
  for(int i = 0; i < votes; i++){
    digitalWrite(pins[i], HIGH);
  }
}

void cycle(int pins[], int period) {
  digitalWrite(pins[0], HIGH);
  delay(period);
  digitalWrite(pins[0], LOW);
  digitalWrite(pins[1], HIGH);
  delay(period);
  digitalWrite(pins[1], LOW);
  digitalWrite(pins[2], HIGH);
  delay(period);
  digitalWrite(pins[2], LOW);
  digitalWrite(pins[3], HIGH);
  delay(period);
  digitalWrite(pins[3], LOW);
  digitalWrite(pins[4], HIGH);
  delay(period);
  digitalWrite(pins[4], LOW);
}
